Monday, 10 September 2012

Pyrography First Attempts

So I recently got a Craft Geek Sizzle from Purple Cows and decided to try my hand at some Pyrography! Loooong way to go, but I'm very pleased with my first attempts!!


The image is from Sassy Studio Designs - LOVE IT and I thought it was the perfect image for a 21st Birthday keepsake box.  Just have to find someone to give it to now....

Speak Soon
Nat -x-

Sunday, 9 September 2012

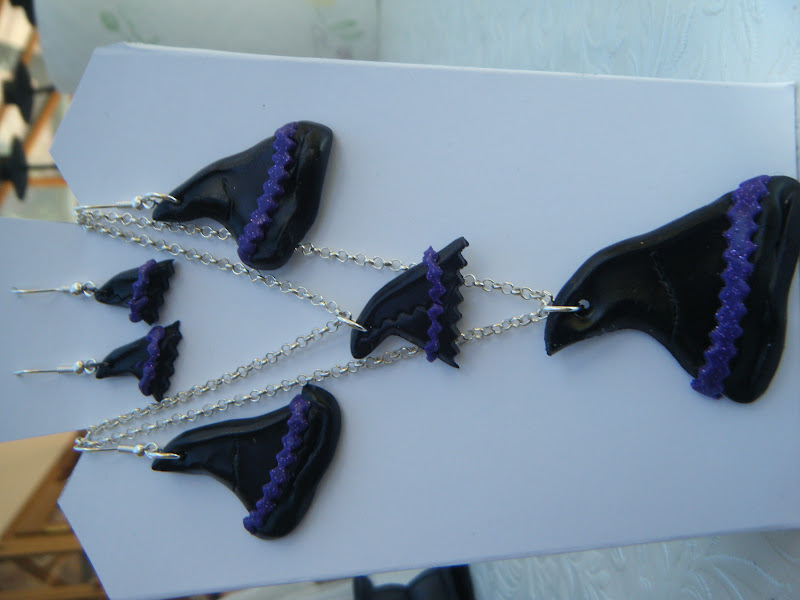
Halloween Jewellery

I've been having more of a play with Polymer Clay recently and thought I'd have a go at some Halloween Jewellery.


Lots of fun creating witches hats.
Speak soon
Nat -x-

Tuesday, 4 September 2012

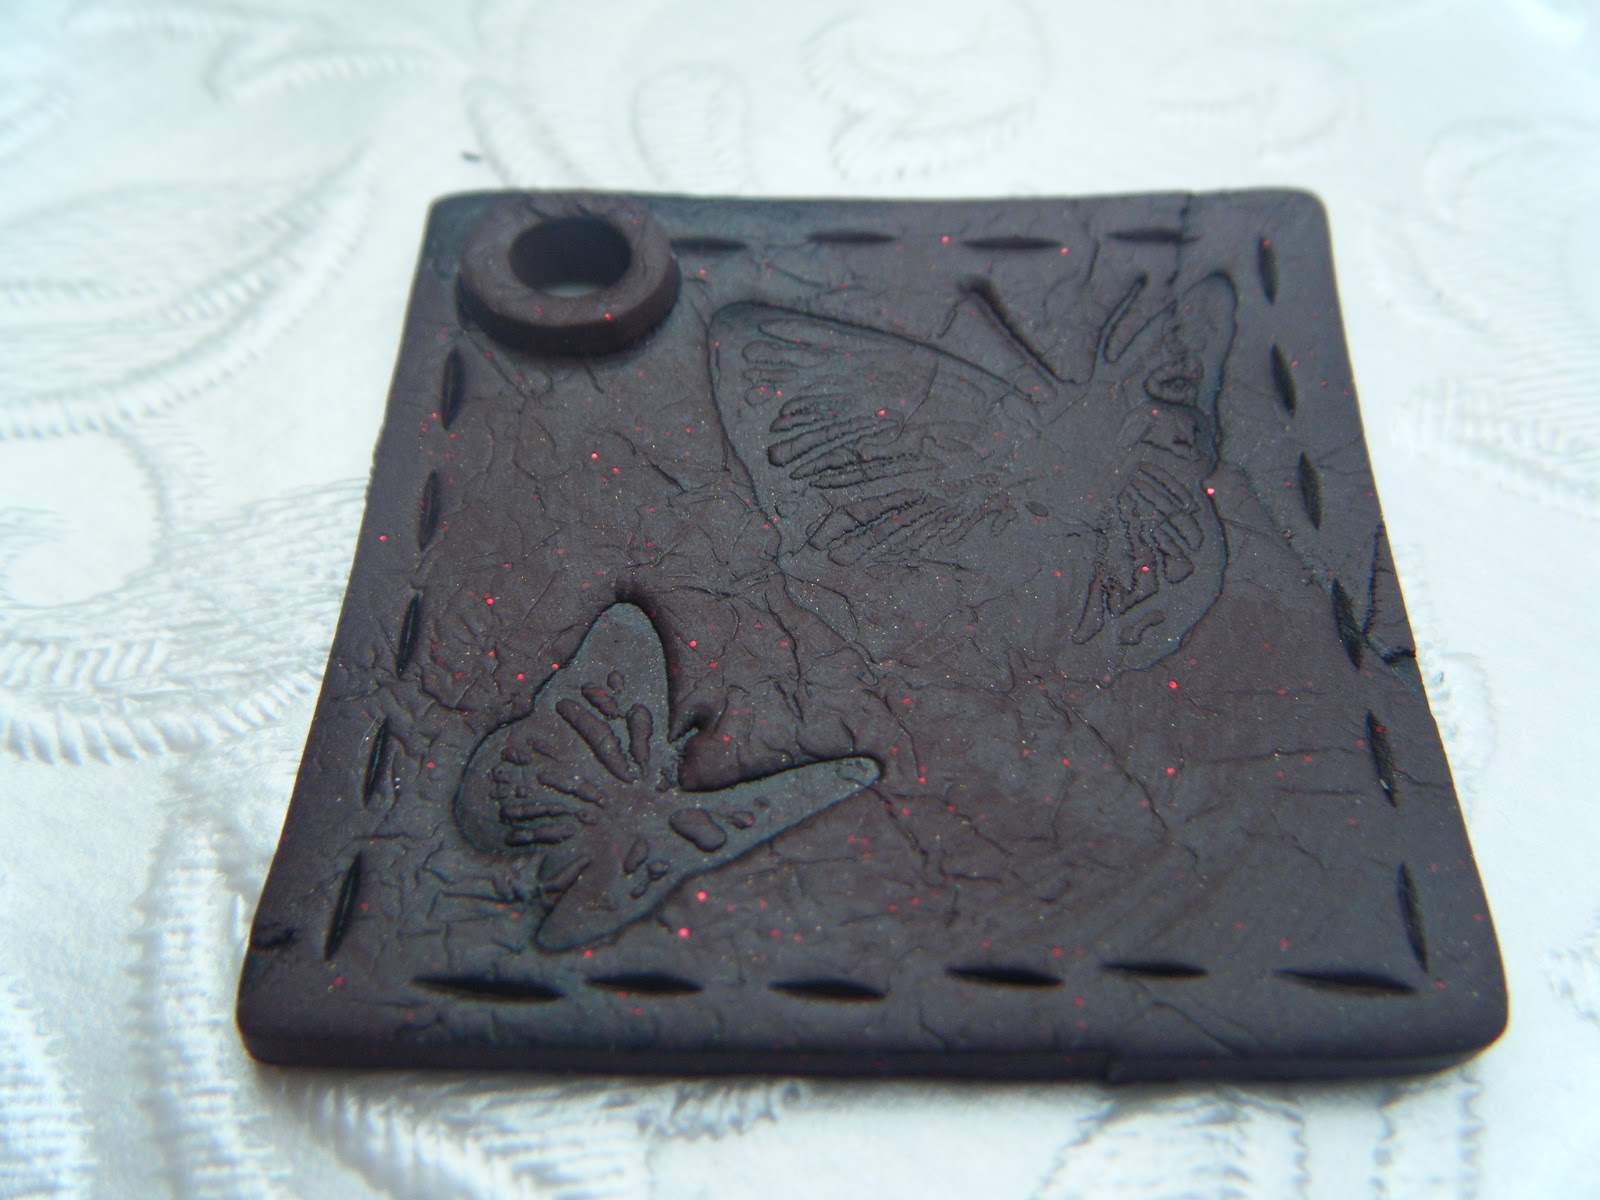
Faux Leather with Polymer Clay

Just thought I'd share these little tags and my second attempt at a journal that I just made as I'm really proud of them and I LOVE this technique!!
They are made out of Polymer Clay and designed to look like leather and I think they turned out really well! Woo hoo!

 So this is my little journal, something went a bit wrong with the spine though so it wont sit flat - all notes for next time! I'm really pleased with the clay cover though!!


 And here are my tags!!! I LOVE THEM!!!


Linking up to Make It Monday
Let me know what you think!
Speak Soon
Nat -x-

Pearl Anniversary Card

Hi Bloggers,

This is a card I made for my Mum to give to her friends who are celebrating their 30th Wedding Anniversary, which of course is pearl.  So I kept it really minimalist in cream and silver with pearl accents and I'm really happy with how it turned out!

 I pearlised my based card with Perfect Pearls Mists in Biscotti then cut out the borders from my Parisian Accents, and stuck these round the edge, adding a little dot of pearl paint in each hole.
 Then I used Bench Bears from Dis Digi Downloads, and added a sentiment, which I then printed out and foiled in silver. Cut it out using my labels nesties and added some more little pearl accents on the sides as well as to highlight her bow and the centre of one of the flowers in his pocket.

Then I just added some little flowers in the corner and again used some pearl paint for the centres and voila!!

I shall be entering this into Divas By Design - Lets Celebrate and Make It Monday

Speak Soon
Nat -x-

Monday, 3 September 2012

Polymer Clay Journal

Hi There Bloggers.

I just wanted to share with you my first attempt at 2 things 1. A Hard Back Journal and 2. A Polymer Clay Cover for it and hopefully get any feedback from all you lovely fellow crafty people out there.
Obviously there is a long way to go with my clay skills as I am still very much a beginner, but I did manage to create my first successful skinner blend which was an achievement in itself.

Anyway here it is:

 It is a little A7 book, and I actually really like this size of book as it's nice to carry around but still big enough to actually be useful!
 I used this tutorial on how to make a hard back book, there are loads of them out there but this was the most simple one that I found as it used staples instead of sewing and I just wanted to have a play.
Anyway I would hugely appreciate peoples feedback and comment on how I could improve this really!
I will be entering this into Make It Monday

Speak Soon
Nat -x-

Wednesday, 29 August 2012

Mum's Birthday Card

Woo this is my 100th post how exciting!!

I thought I'd share the card I made for my Mum's Birthday last week!!


I embossed the background with one of the CuttleBug All-In-One folders and then used a Paint Dabber to highlight some of the raised areas! I got this idea from Tim Holtz and his August Tag, which I sadly haven't been able to fully complete but just used this technique instead, then went around it with the Pink from the Summer Edition Distress Inks.


For the focal point I used my nesties and cut one from Silver mirror board and the other from white card which I also inked while it was still in the die.  I then decorated it with 2 of my handmade flowers (pink) and 2 white clay roses I had made and also tinted these with the Distress Ink.


For the sentiment I used the Quickie Glue Pen and some Glitter and mounted the sentiment on some more silver mirror card.

I shall be entering this into Make It MondayAnything GoesDivas By Design and Cupcake Crafts!

Speak Soon
Nat -x-

Faux Wax Seals using Polymer Clay "stamps" and UTEE

Hello Blog World, it's been over a month since I posted anything - very bad of me!!
It's been a very busy month what with one thing and another and I have lots of catch up on!!

I thought I would start from the most recent and work my way backwards, so here is something that I have created this very day!!

I've been thinking for a while how great it would be to have my own wax seal and be be able to put my own stamp onto things, so I have been nosing around the internet and it looks like in order to get your own seal made its going to be around £50 plus all the wax on top of that, and at the moment I really do not have any money to spare so when needs must - make your own with what you've got, so that is what I have done.

Ages and ages ago I made these little clay squares that have the Twndividual Logo on them as I wanted to make molds to make chocolates with.
 This time I used them as a Stamp to impress the design into some Polymer Clay and then Cut around it with a small circular cookie cutter in order to make my seal.
 Once the clay has been backed, I stuck one side of a velcro dot on the back and the other on the end of a pinflair glue syringe as this was the best handle I could think of.  Then I heated up my melting pot and melted some UTEE.  When the UTEE was ready to be poured a placed a little Vaseline to asked as a release agent onto my 'seal' the poured a small amount of UTEE onto the craft mat and placed the stamp on top and just let it sit until it had cooled and hardened.
 Then I released the UTEE from the seal and Taa Daaa!! It has actually worked pretty well.
 Here are some other ones I did, obviously should have used a bit more UTEE but just melted these right down again and reused them


Some of the clay did get stuck to one of them as I hadn't put anymore Vaseline on, so I would say re-moisten your seal for each one you do to ensure that this doesn't happen.  But all in all I'm very pleased and can now make completely personalised and unique seals!

I hope you enjoy this and that it may inspire you!!
Speak Soon
Nat -x-